
![detailingshop-header-pic1[1]](https://nimbuswhip.com/wp-content/uploads/2026/02/detailingshop-header-pic11.svg#627)
![detailingshop-header-pic2[1]](https://nimbuswhip.com/wp-content/uploads/2026/02/detailingshop-header-pic21.svg#628)
![detailingshop-header-pic3[1]](https://nimbuswhip.com/wp-content/uploads/2026/02/detailingshop-header-pic31-1.svg#813)


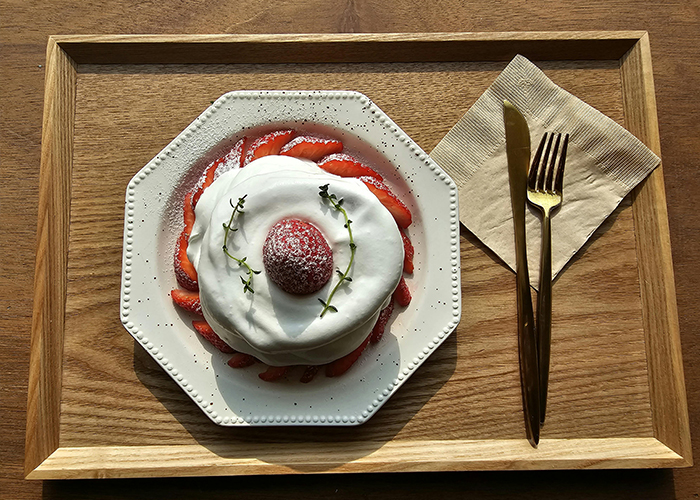
Creating light, fluffy whipped cream at home is a rewarding kitchen task. The secret to success lies in precise temperature control. For that perfect, airy consistency on your desserts, every element must be just right.
Experts agree that the cream itself needs to stay very cold. The ideal starting point is below 50 degrees Fahrenheit. At this temperature, the fat molecules in the dairy are firm and ready to trap air.
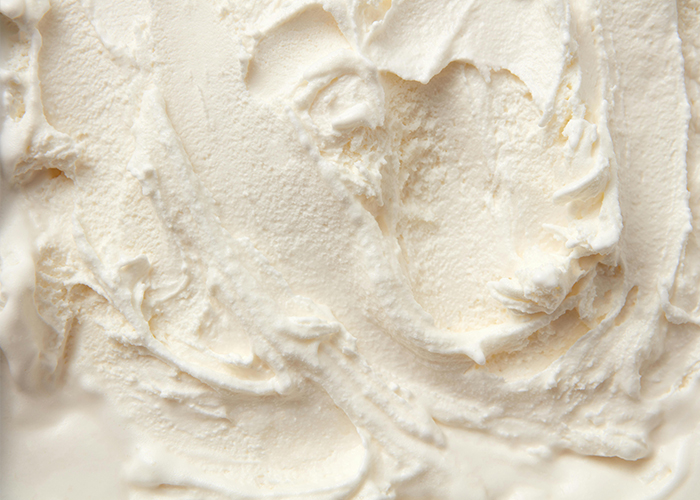
This process transforms simple liquid dairy into a stable, voluminous foam. The result is a texture far superior to anything from a can. Mastering this transformation is a fundamental skill for any baker.
Professional bakers consistently emphasize one critical factor. The initial chill of your ingredients directly dictates the final quality. Starting with a warm base is the most common reason for failure.
Therefore, learning to identify when your base ingredient is not cold enough is the essential first step. This knowledge turns a frustrating kitchen experiment into a guaranteed, delightful success.
Key Takeaways
- Temperature is the most critical factor for successfully whipping cream.
- For ideal results, cream should be colder than 50°F before you begin.
- The whipping process turns liquid dairy into a stable foam by trapping air.
- The quality of your final product depends heavily on the starting temperature of your ingredients.
- Recognizing when cream is too warm prevents failure and ensures perfect texture.
- Homemade whipped cream offers a noticeably better texture than canned alternatives.
- This skill is a fundamental building block for many desserts and baking projects.

Understanding the Science Behind Whipping Cream
The transformation of liquid cream into a stable, airy foam is a fascinating interplay of chemistry and physics. This process hinges on the physical state of the dairy’s fat. For heavy whipping cream, the U.S. FDA mandates a minimum fat content of 36%.
This high fat percentage is the foundation for successful whipping. The fat provides the structural material needed to capture and hold air.
Role of Temperature in Cream Structure
Temperature dictates the behavior of fat within the cream. Cold fat molecules are firm and solid. They readily cluster and form networks.
If the cream becomes too warm, these fat molecules begin to melt. Melted fat loses its structural integrity. It cannot effectively trap the air bubbles introduced during whipping.
Maintaining the correct chill is therefore the most critical technical step. The fat must remain solid to act as a binding agent for the air.
The Chemistry of Fat and Air Incorporation
Cream is scientifically classified as a colloid. Microscopic fat globules are suspended in a liquid base of water. Whipping applies mechanical force to this mixture.
The force breaks the membranes of the fat globules. This allows the released fat to coat and stabilize tiny air pockets. The fat molecules create a structural scaffold around each bubble.
This scaffold is what gives whipped cream its volume and stability. The entire structure relies on cold, solid fat to remain intact from bowl to dessert.
How to Tell If Your Cream Is Too Warm to Whip Properly
A failed batch of homemade whipped cream often traces back to one simple culprit: temperature. Recognizing the visual and tactile signs before you start is crucial. It prevents wasted ingredients and ensures a light, stable foam.
Identifying Temperature-Related Texture Issues
Warm dairy produces clear textural flaws, as demonstrated by America’s Test Kitchen. Their cream at 40°F yielded 2.25 cups of fluffy product, while at 57°F the volume dropped to just 2 cups.
Room temperature base at 72°F resulted in a mere 1.75 cups with a grainy, unpleasant feel. If your liquid exceeds 50°F, the fat globules melt and cannot trap air effectively, producing a dense, flat mixture.
Proper Cold Storage for Cream, Bowl, and Tools
Chill every element, including your mixing bowl and whisk, to 50°F or below. A warm environment can ruin your entire batch.
Using cold heavy cream is non-negotiable because the fat clusters must remain solid. This holds the watery components in a stable, fluffy suspension for perfect results.
Tips for Perfect Homemade Whipped Cream
Even with perfectly chilled cream, the whipping process itself can make or break your final product. Starting with high-fat whipping cream is crucial. Mastering a few advanced techniques ensures your homemade whipped cream is consistently light and stable.
Preventing Overwhipping and Salvaging Mistakes
Overwhipping is a common pitfall. Susan Reid, food editor at Sift Magazine, offers guidance for beginners.
Practice hand-whisking to observe the transformation of the cream in real-time.
This hands-on approach helps you recognize the stages. Learning to whip cream properly takes practice and attention.
If you accidentally overwhip your batch, salvage it by slowly drizzling in cold liquid dairy while mixing at low speed. This method can save a whole batch.
Watch the temperature closely. If the mixture reaches 50 degrees Fahrenheit or higher, the air escapes. Your fluffy topping turns into a dense paste.
Maintain temperatures below 40 degrees for optimal texture. A difference of a few degrees can impact stability.
Essential Whipping Techniques and Tools
When using a mixer, watch for the moment the whisk leaves tracks in the mixture. This indicates you are approaching the ideal texture. This ensures your whipped cream holds its shape.
Always keep your bowl chilled. This prevents the temperature from rising during whipping. Keep all tools below 50 degrees.
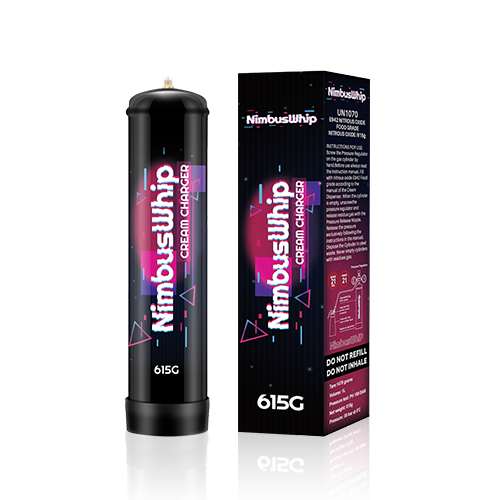
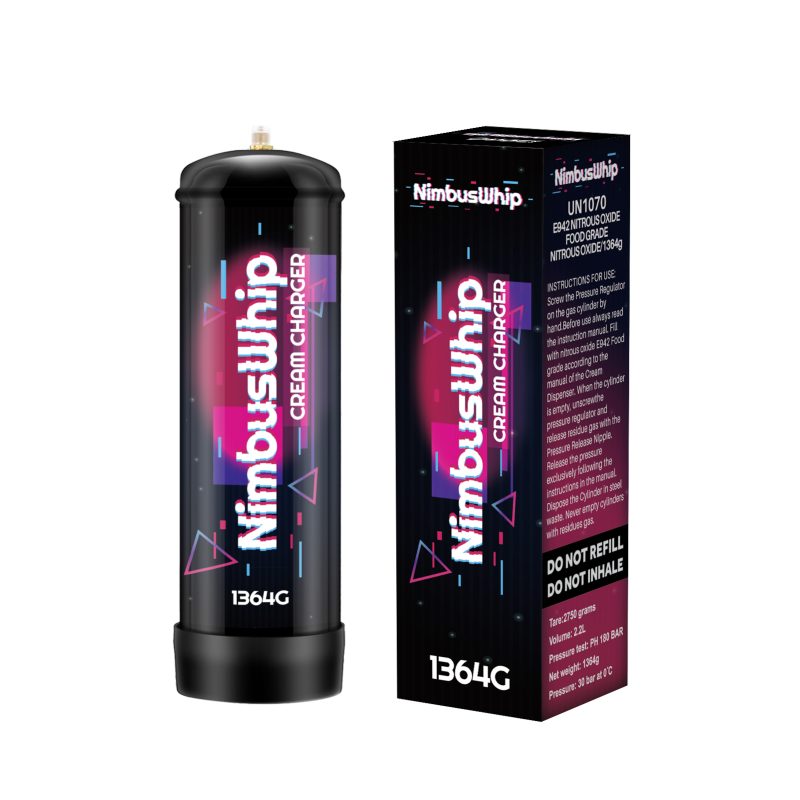
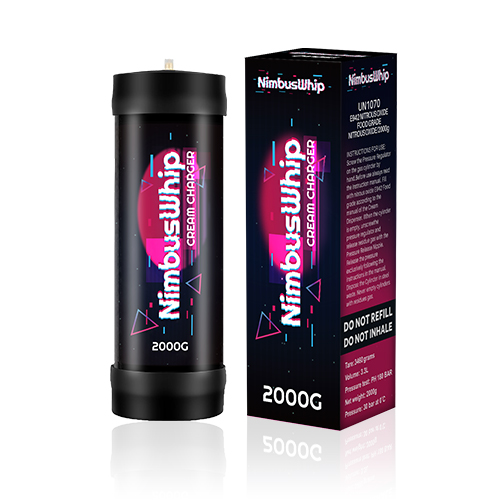
For professional-grade results, consider using N2O chargers. NimbusWhip offers high-quality options:
| Model | Capacity | Weight | Best For |
|---|---|---|---|
| 1L 615G | 1 Liter | 615 grams | Home kitchens, small batches |
| 2.2L 1364g | 2.2 Liters | 1364 grams | Cafes, medium volume |
| 3.3L 2kg | 3.3 Liters | 2 kilograms | Commercial kitchens, high output |
Businesses can explore wholesale opportunities for bulk supplies. Having the right tools guarantees success.
Conclusion
The key to a successful dessert topping lies in meticulous preparation and temperature management. Achieving the perfect consistency demands keeping your cream and all tools chilled below 50°F. This ensures the fat molecules remain solid, ready to trap air.
Remember, the high fat content is the primary structural component. It creates those signature fluffy peaks in your whipped cream. If your mixture becomes clumpy, gently whisk in a little more cold liquid cream to salvage it.
For consistent, professional results, consider tools like high-quality chargers from NimbusWhip. They simplify the process dramatically. By monitoring your progress closely, you guarantee a perfect, airy topping every time.
Mastering these steps turns a simple ingredient into an elegant and reliable finish for any dessert.
