




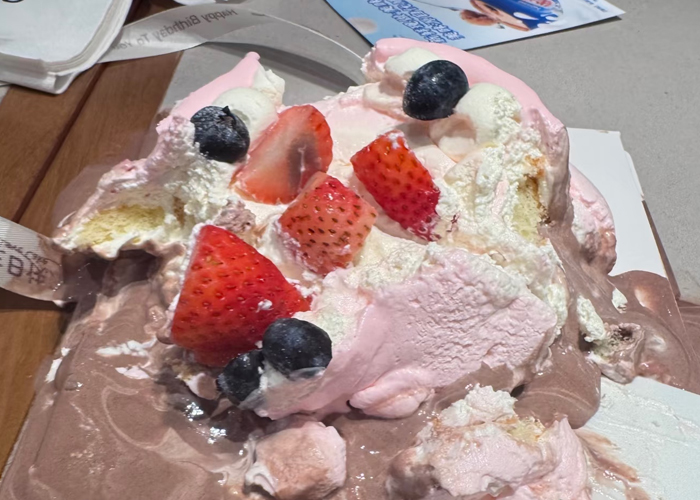
Many home bakers face the frustrating problem of their frosting losing its beautiful form too quickly. Expert baker Veena Azmanov has highlighted that standard whipped cream often collapses or melts within hours of decorating a cake. This common issue can turn a stunning dessert into a disappointing mess before it even reaches the table.
Understanding the reasons behind this instability is crucial for achieving professional-quality results. This guide delves into the science of creating a stable whipped cream that maintains its shape. We will explore simple yet effective adjustments to your recipe and technique.
You will learn how to transform your standard frosting into a firm, pipeable masterpiece. These methods ensure your creations stay visually appealing and delicious for days.
Key Takeaways
- Fat content and temperature are critical factors for stability.
- Over-whipping is a common mistake that leads to a grainy texture.
- Adding a stabilizer can significantly extend the frosting’s lifespan.
- Proper chilling of your bowl and beaters is an essential first step.
- Using the right type of cream is fundamental to success.
- Gentle folding preserves air bubbles for a light, fluffy texture.
Introduction to Whipped Cream Stability
Structural integrity in cake decoration hinges on the fat content and temperature of your cream. A durable, pipeable topping is the hallmark of a professional dessert. This stability ensures your creation looks perfect for hours.
The goal is to transform a simple ingredient into a long-lasting frosting. You achieve this by reinforcing the delicate air bubbles formed during whipping.
Understanding the Role of Stabilizers in Baking
Stabilizers are special ingredients added to the base. They work by reinforcing the network that traps air. Common options include proteins and starches.
These agents provide a supportive scaffold. This prevents the air pockets from collapsing. The result is a fundamentally stronger whipped cream.
Why Stability Matters for Cake Decorations
A firm frosting is non-negotiable for intricate piping. Designs will sag or melt without it. This is why heavy whipping cream must contain at least 36% fat.
That high fat content is the primary support system. It allows the dessert to stand beautifully at room temperature. Proper chilling of your mixing bowl is a critical first step to lock in this structure.
Mastering this consistency is the only way to guarantee your layered cakes impress from the first slice to the last.
Why My Whipped Cream Doesn’t Hold Shape on Cakes
That piped design sags because the air bubbles inside lose their support. This delicate whipped cream foam relies on a network of fat to trap air. When this structure weakens, your beautiful frosting loses its shape.
The fat content in heavy whipping cream acts as the essential glue. At cooler temperatures, these fats remain solid and firm. Ambient room heat causes them to soften and melt. This breakdown makes the entire foam collapse.
Successful whipping must reach stiff peaks for a sturdy framework. Using a thoroughly chilled mixing bowl is critical. It maintains the fat’s solid state throughout the process.
To stabilize whipped cream, you reinforce this fragile air bubble matrix. This creates a topping strong enough to support cake layers. Without this reinforcement, even expertly made cream will separate. The result is a disappointing, watery frosting on your dessert.
The Science Behind Whipped Cream Melting
Emulsification science explains why some frostings withstand heat while others collapse. This process is more delicate than in Swiss meringue, where egg white proteins provide natural stability.
Understanding this chemistry is key to creating a topping that lasts for hours.
Impact of Fat Content and Temperature
The fat content in your heavy whipping cream is its primary structural element. These fat molecules are solid when cold.
As temperature rises, they soften and transition to liquid. This meltdown causes the entire foam to lose its shape.
Professional bakers chill their mixing bowl and beaters for this reason. A cold environment keeps the fat solid throughout the whipping process.
Role of Air Bubbles and Emulsification
When you make whipped cream, you trap millions of tiny air bubbles. Emulsification occurs when fat molecules surround and stabilize these bubbles.
If this structure weakens, the air escapes. The cream deflates and weeps liquid onto your cake layers.
Reaching stiff peaks creates a robust framework. Yet, without a stabilizer, even this framework is temporary.
| Factor | Effect on Stability | Key Consideration |
|---|---|---|
| Fat Content | Higher fat provides a stronger support system for air bubbles. | Use cream with at least 36% milk fat for best results. |
| Temperature | Cold keeps fat solid; heat causes melting and collapse. | Chill all equipment and ingredients thoroughly before starting. |
| Emulsification | Fat molecules coating air bubbles create the foam’s structure. | Avoid over-whipping, which can break this delicate emulsion. |
| Stabilizer Addition | Adds a reinforcing scaffold to the air bubble network. | Ingredients like gelatin are needed for longevity beyond a few hours. |
This explains the limits of traditional sweetened frosting like Chantilly cream. Modern methods to stabilize whipped cream directly address this inherent instability.
Common Problems with Unstabilized Whipped Cream
Without proper stabilization, your dessert’s topping can quickly turn from firm to fluid. Several issues arise when using regular whipped cream for cake decoration. These problems can undermine hours of careful work.
Melting and Weeping Issues
The most visible issue is melting and weeping. Unstabilized whipped cream often leaks liquid after just four hours at room temperature. This moisture can ruin the cake sponge’s texture.
The frosting may also bulge from the sides of a cake. This is a clear sign of instability. It creates a messy appearance that lacks visual appeal.
Challenges in Piping and Structural Integrity
Piping intricate designs becomes difficult. Regular whipped cream struggles to hold shape. Edges soften and blur, losing professional definition.
Structural integrity is compromised. It cannot support heavy cake layers or tall swirls. This makes complex decorations nearly impossible.
To avoid these challenges, you must stabilize whipped cream. Adding a stabilizer reinforces the foam structure. It prevents separation and ensures your creation stays beautiful for the entire event.
Overview of Stabilization Methods
Bakers have multiple options for ensuring their piped designs remain intact for days. Selecting the right technique depends on your desired hold time, texture, and available ingredients.
Each method works by reinforcing the delicate air bubble network in your heavy whipping cream. This creates a frosting that can withstand warmer conditions.

Gelatin, Cornstarch, and Pudding Mix Techniques
Gelatin is a professional favorite. It creates a protein meshwork for excellent stability. Your whipped cream can hold shape for up to three days in the fridge.
Cornstarch requires a cooking step to activate its thickening power. It provides a sturdy, neutral-tasting structure.
Instant pudding mix is a convenient pantry staple. It adds both structure and flavor to your cream frosting.
| Stabilizer | Key Benefit | Best For | Typical Hold Time |
|---|---|---|---|
| Gelatin | Creates a firm, protein-based scaffold. | Multi-day cakes and intricate piping. | Up to 3 days |
| Cornstarch | Provides a cooked, neutral stability. | Bakers avoiding gelatin or wanting a plain taste. | 24-48 hours |
| Pudding Mix | Adds flavor and creamy texture easily. | Quick desserts and flavored cake toppings. | 1-2 days |
To stabilize whipped cream successfully, add your chosen agent at the soft peaks stage. This ensures full incorporation without over-whipping.
Make sure you continue beating just until stiff peaks form. This balances structure with a light, fluffy texture.
Exploring Alternative Stabilizers: Whip-It, Cream Cheese, and Greek Yogurt
Alternative stabilizers like Whip-It, cream cheese, and Greek yogurt bring distinct advantages to cake decorating. These options expand your toolkit beyond traditional gelatin, offering unique textures and flavors. Each agent reinforces the delicate foam of whipped cream to help it hold shape for many hours.
Pros and Cons of Each Method
Whip-It is a specialized powder containing modified cornstarch. It thickens the cream mixture instantly, requiring no heating or cooking steps. This makes it a quick, reliable choice for everyday treats.
Cream cheese provides a rich, dense frosting-like texture. It is ideal for cupcakes and cake layers needing significant structural support. Your creation can maintain its form for up to three days.
Greek yogurt adds a tangy flavor and extra protein. This protein-rich bulk effectively stabilizes the whipped cream, particularly complementing fruit-based desserts.
Consider these points when choosing:
- Whip-It: Pros – no cooking, neutral taste. Cons – may not be as firm as gelatin.
- Cream cheese: Pros – excellent structure, rich flavor. Cons – can be heavy; make sure it’s softened to avoid lumps.
- Greek yogurt: Pros – adds protein, tangy twist. Cons – flavor may not suit all palates.
Always chill your mixing bowl and beaters. This ensures the fat content in your heavy whipping cream remains solid during whipping. Beat to stiff peaks for the best results.
Incorporating NimbusWhip Chargers for Perfect Whipped Cream
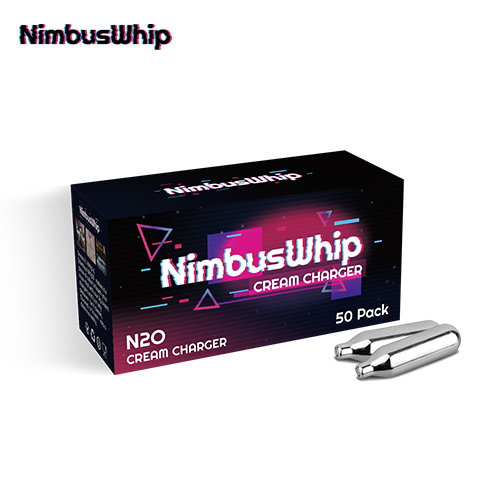
Modern baking technology offers precise solutions for creating long-lasting whipped cream. NimbusWhip provides professional-grade chargers that deliver consistent aeration. This forms a superior foundation for any stabilization method you choose.
Using this tool ensures your whipped cream has the ideal texture from the start. It becomes much easier to stabilize whipped cream for complex decorations. Your frosting will maintain its professional look for many hours.
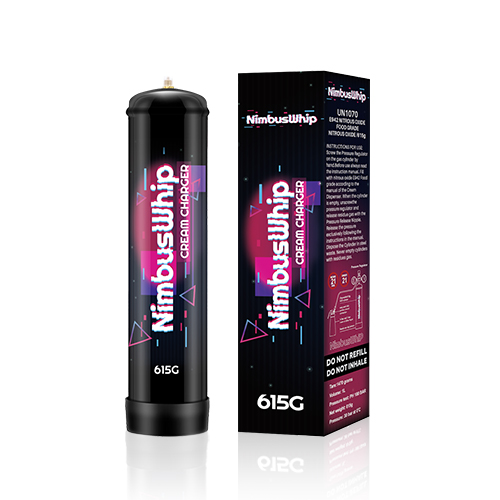
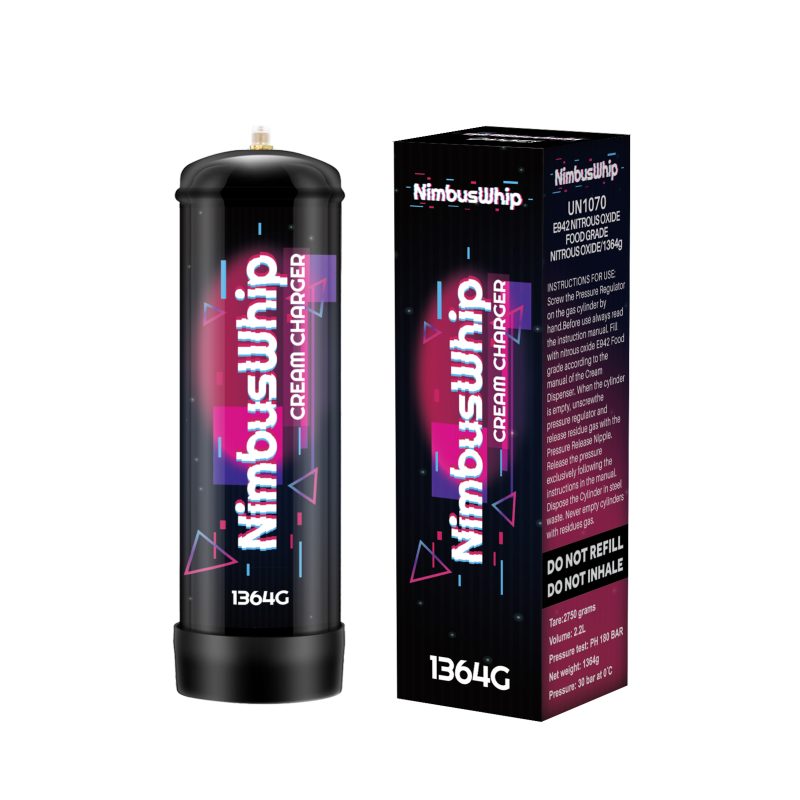
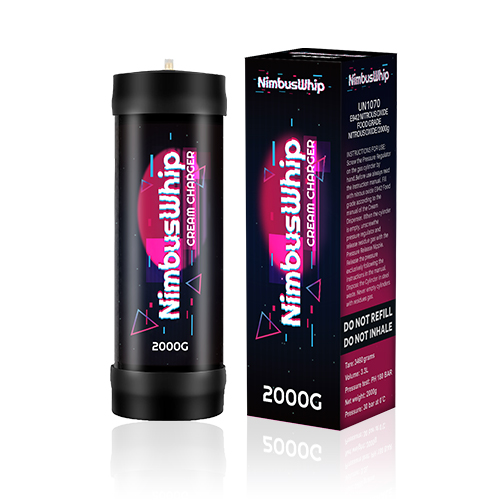
How NimbusWhip’s 1L, 2.2L, and 3.3L Chargers Enhance Stability
NimbusWhip chargers come in three primary sizes. Each is designed for a specific scale of baking. The precise gas pressure is vital for achieving perfect, stiff peaks.
This consistent aeration helps the cream hold shape against warmth and weight. It reinforces the structural integrity of your heavy whipping cream. The result is a reliable foam that supports intricate piping on any cake.
| Charger Size | Best For | Key Benefit for Stability |
|---|---|---|
| 1L 615G | Small batches and home enthusiasts | Provides controlled aeration for foundational texture. |
| 2.2L 1364g | Medium production and frequent bakers | Offers efficient volume with consistent pressure. |
| 3.3L 2kg | Large professional kitchens and wholesale | Ensures high-output stability for demanding decor. |
Accessing Wholesale Options at NimbusWhip.com
Professional bakers can secure a steady supply through NimbusWhip’s wholesale program. Visit NimbusWhip.com/wholesale to explore bulk purchasing. This supports a busy kitchen’s need for reliable tools.
The main site, NimbusWhip.com, displays the full product range. Whether you are a pastry chef or a dedicated home baker, these chargers elevate your whipping process. They help you achieve that perfect, stable consistency every single time.
Step-by-Step Guide to Stabilizing Whipped Cream
Mastering the stabilization process transforms a simple ingredient into a durable decoration. This guide walks you through each critical step for success.
You will learn how to combine ingredients safely. Proper timing and temperature control are also essential.
Combining Ingredients Safely and Effectively
Begin by preparing your stabilizer. For gelatin, bloom one teaspoon in two tablespoons of cold water. Let it sit for five minutes.
Heat this mixture in the microwave for ten seconds. It should become fully dissolved and clear. Set it aside to cool slightly.
Place your heavy whipping cream in a thoroughly chilled mixing bowl. Start whipping on medium speed. Watch for the mixture to thicken.
Stop when you reach the soft peaks stage. This is the perfect time to add sweeteners. Gradually sprinkle in powdered sugar and a dash of vanilla extract.
Now, slowly drizzle in your liquid gelatin or other prepared stabilizer. Keep the mixer running at a medium pace. This ensures smooth incorporation without lumps.
Timing and Temperature Considerations
Continue whipping the cream until it forms stiff peaks. The texture should be firm and hold its shape when the beaters are lifted. Be careful not to over-whip.
Over-whipping can cause a grainy or buttery consistency. This ruins the frosting‘s smooth texture.
Always make sure your bowl and beaters are ice-cold. The fat content in the cream must stay solid. This is key for trapping air bubbles.
Use your stabilized whipped cream immediately after making it. This timing is critical for it to set correctly on your cake. Properly made, it will stay beautiful for many hours, even days.
Tips for Piping and Decorating with Stabilized Whipped Cream
The true test of stabilized whipped cream comes when you apply it to your cake with a piping bag. This is where your preparation pays off in crisp, beautiful designs.
For the best results, pipe your decorations immediately after the whipping process. The stabilizer begins to set as soon as you finish. This locks your frosting into the perfect shape.
Use a high-quality piping bag and metal tip. This ensures clean lines that stay defined for many hours. You can even test a small rosette on parchment first.
After decorating, chill the entire cake in the refrigerator. This final step helps the stabilize whipped cream set firmly in place.
Follow these key practices for success:
- Always start with heavy whipping cream whipped to stiff peaks.
- Work quickly and pipe designs onto the cake without delay.
- Make sure your cake layers are cool before you begin decorating.
- For large projects, consider working in smaller batches to maintain consistency.
With these techniques, your whipped cream borders and swirls will impress guests and hold up perfectly.
Troubleshooting Common Whipped Cream Issues
Even with careful preparation, a few common pitfalls can affect the quality of your dessert topping. Learning to identify and fix these problems quickly is a valuable skill. It ensures your beautiful decorations stay intact for many hours.
Correcting Underwhipped or Overwhipped Cream
If your whipped cream is too soft and fails to hold shape, it is likely underwhipped. Simply continue whipping on medium speed. Stop when you reach firm stiff peaks.
Overwhipping is a common error. It can turn your cream grainy or into butter. You can sometimes rescue it. Gently fold in a tablespoon of fresh, cold heavy whipping cream. This can restore a smoother texture.
Managing Separation and Grainy Texture
Separation often happens when the cream or equipment is too warm. Always make sure your mixing bowl and beaters are thoroughly chilled. This keeps the fat content solid during the process.
A grainy texture might come from expired dairy. Check your ingredients before starting. Lumps can also form if your stabilizer was not fully dissolved. Follow heating instructions for gelatin carefully to avoid this.
| Issue | Likely Cause | Quick Fix |
|---|---|---|
| Soft, runny frosting | Underwhipped; stopped at soft peaks | Continue whipping to stiff peaks. |
| Grainy, curdled texture | Overwhipped or old cream | Fold in fresh cold cream; check expiration date. |
| Liquid weeping from cake topping | Warm equipment or weak foam structure | Chill all tools; use a stronger stabilizer to stabilize whipped cream. |
| Lumps in the mixture | Stabilizer not dissolved properly | Ensure gelatin is fully melted and cooled before adding. |
Mastering these fixes is part of the journey. With practice, you will achieve perfect results every time.
How Stabilizers Affect Flavor and Texture
The choice of stabilizer does more than just firm up your topping. It directly shapes the final taste and mouthfeel of your dessert.
Each agent interacts uniquely with the heavy whipping cream. This changes the sensory experience of your frosting.
Balancing Consistency with Taste
Gelatin is a popular, flavorless option. It allows the natural taste of vanilla to shine through.
Cream cheese provides a rich, dense texture. It tastes like a light, tangy frosting itself.
Instant pudding mix adds noticeable sweetness and flavor. This is a great benefit for kids’ desserts.
Cornstarch can leave a powdery feel if not cooked properly. Many bakers prefer gelatin or pudding mix for a smoother result.
| Stabilizer | Primary Flavor Impact | Texture Contribution | Best Use Case |
|---|---|---|---|
| Gelatin | Virtually neutral | Light, firm foam | Classic desserts where pure cream flavor is desired |
| Cream Cheese | Rich, pleasant tang | Dense, creamy mouthfeel | Decadent cupcakes or layered cakes |
| Instant Pudding Mix | Adds sweetness & specific flavor (e.g., vanilla) | Extra creamy and smooth | Themed parties or children’s cake treats |
| Cornstarch (cooked) | Neutral | Sturdy, can be slightly heavy | When avoiding gelatin or needing a plain stabilizer |
Balancing consistency with taste is the ultimate goal. You may need to adjust sugar based on your chosen stabilizer.
Always make sure to taste your whipped cream after adding the agent. This ensures the flavor profile meets your expectations.
Understanding these effects lets you create a customized topping. It will be both stable and delicious for any occasion.
Conclusion
With the right knowledge, your cake decorations will remain pristine from kitchen to table. Mastering the art of stabilized whipped cream is a game-changer for any baker seeking professional-quality results.
Understanding the science of fat content, temperature, and how to stabilize whipped cream prevents common issues. Whether you choose gelatin, cream cheese, or a convenient pudding mix, the right agent ensures your frosting holds its shape for many hours.
Using a chilled mixing bowl and beating to stiff peaks are foundational steps. Tools like NimbusWhip chargers improve the whipping process for a consistent base. With these techniques, you can decorate confidently.
Your desserts will look fresh and delicious. Happy baking! Enjoy creating stunning, stable whipped cream masterpieces.
